
DIY Concrete Towel Planters
Updated: May 2, 2023
I'm always in need of a planter, and I was really excited to try this technique. I've never worked with concrete before, so this took some trial and error. On my first attempt, I purchased a small box of concrete mix made to fill in around an anchor post. I learned that a little does NOT go a long way! My husband generously went to Home Depot to get me the full size 80lb bag so I could try again.
Materials Needed for the DIY concrete towel planters:
Beach Towel
I started with an oversized beach towel that I folded and cut into two circles.

The next step is to mix up the concrete and water in a large bucket. I used one of those 5-gallon buckets that are available at any hardware store. Mixing can get messy, so I highly recommend using a drop-cloth as your work space. Rubber gloves are a must to protect your hands. You can mix it manually, but I used a mixing paddle that works with a cordless drill (because power tools are more fun right?) so it was a bit messier and I had a couple of accidental splashes. Make more concrete than you think you'll need, as it's important to cover every single inch of the towel with a nice thick layer of concrete. I used more a bit more water than you would usually use because the thinner consistency would be easier to coat the towels.

Once you are happy with the consistency of the concrete, push the towel down into the bucket and then take it out and reposition it and push it down again. You will need to do this step several times to make sure the entire towel is coated. If you can still tell what color your towel is, then you need more concrete on it.

After you have the entire towel covered with concrete, simply drape it over a planter or bucket to dry. I used a few upside down planters stacked on top of each other so that the final shape would be tall and narrow. The wet towels were much heavier than I thought, and the first planter I used wound up collapsing under the weight of it, so make sure you are using something sturdy.
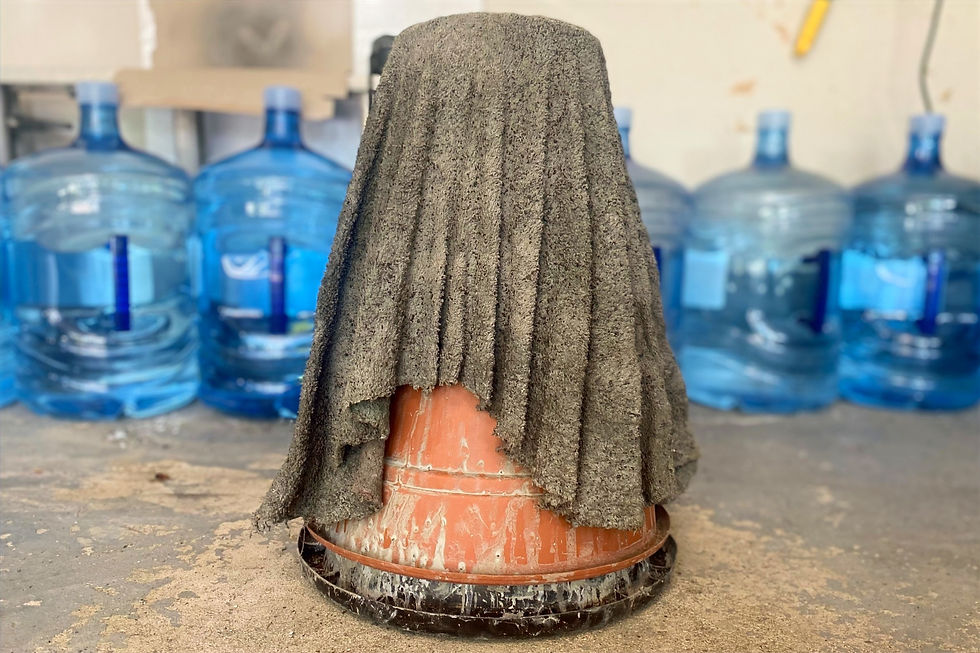
They took a couple of days to fully harden, but it was well worth the wait. They came out exactly as I pictured and they were so easy to make! I chose not to paint them for now, but I'm sure I will at some point. Stay tuned to see the update.
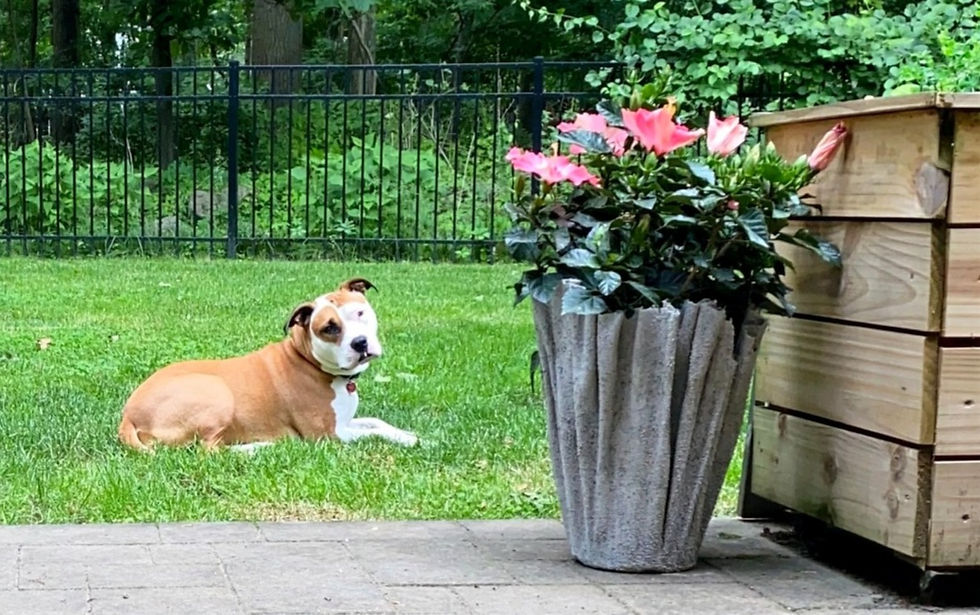
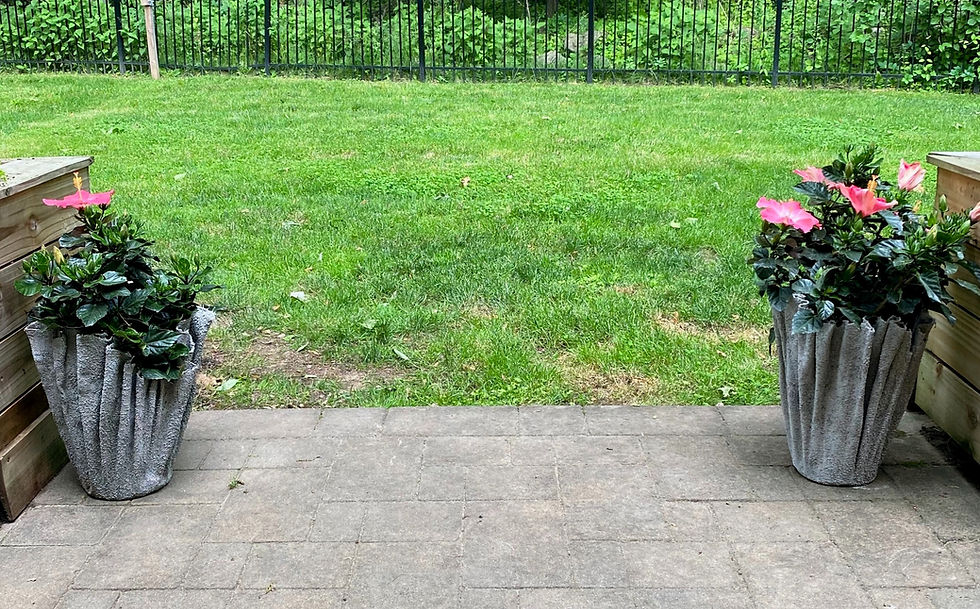

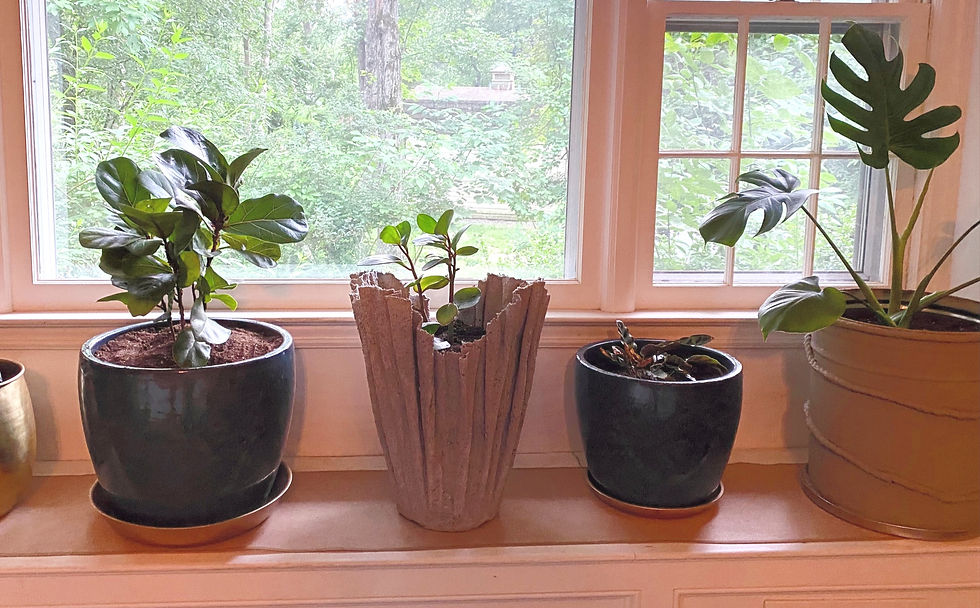
Added bonus: it looks great on my plant shelf near my Faux Terracotta Planter (click the link for the tutorial on that one).


https://gg88.fund/ mình lướt thấy ai đó nhắc nên tiện tay bấm vào xem giao diện ra sao thôi. Vào cái là thấy trang chia nội dung theo từng khối khá rõ, kiểu kéo xuống vẫn biết mình đang ở phần nào chứ không bị rối. Mình không đọc kỹ hết, nhưng có lướt trúng một bài dạng giải mã giấc mơ kiểu “nằm mơ thấy tiền…” nên cũng đoán họ làm nội dung cho người thích xem nhanh, dễ hiểu. Mấy tiêu đề bài viết hiển thị dạng danh sách gọn gàng, nhìn một lượt là nắm được chủ đề chính. Menu để chỗ dễ thấy, bấm qua lại các mục cũng mượt, không phải tìm hoài, và các khối…
nhà cái GG88 dạo này thấy bạn bè nhắc hoài nên mình cũng ghé thử cho biết, kiểu vào xem giao diện với cách họ trình bày thôi chứ chưa chơi gì. Lướt một vòng thấy trang chia nội dung theo từng mảng khá gọn, nhìn không bị ngợp, kéo xuống vẫn dễ theo dõi. Mình để ý mấy bài hướng dẫn game bài như tam cúc với phỏm được làm tiêu đề rõ ràng, nên chỉ cần nhìn lướt là biết đang nói về gì, khỏi phải tìm lâu. Tông màu với bố cục nhìn hiện đại, chữ dễ đọc, cảm giác hợp cho người mới vào xem nhanh. Nói chung mình ấn tượng nhất là kiểu hiển thị…